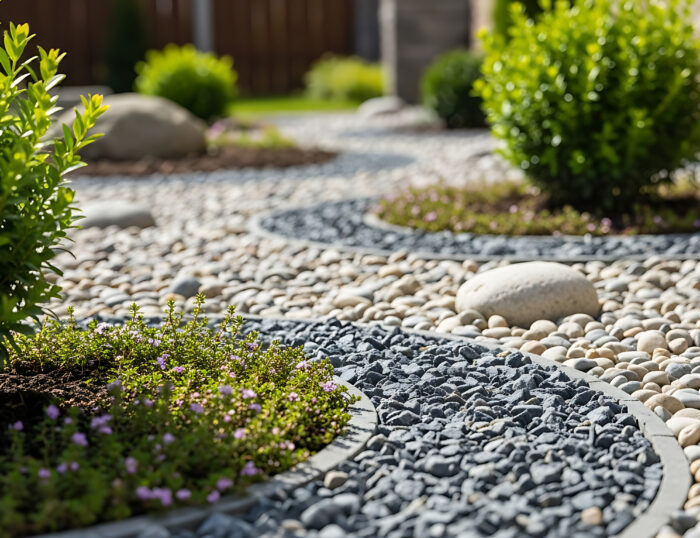
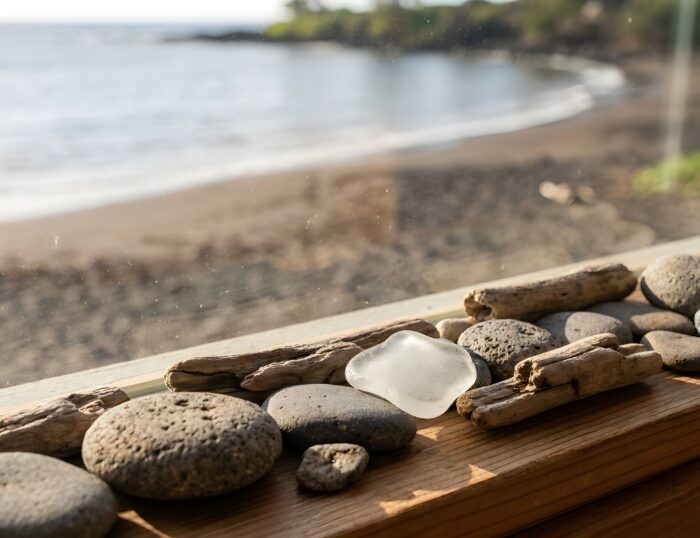
These pebbles are naturally rounded stones formed by ocean movement over time. Their smooth texture, durability, and natural grip make them suitable for wet areas such as showers and walk-in bathrooms. When installed correctly, they can last for years while maintaining a clean and natural appearance.
This guide explains how to remodel a shower floor using Mexican beach pebbles, along with design ideas, material comparisons, installation steps, and maintenance guidance.
Why Mexican Beach Pebbles Work Well in Shower Floors
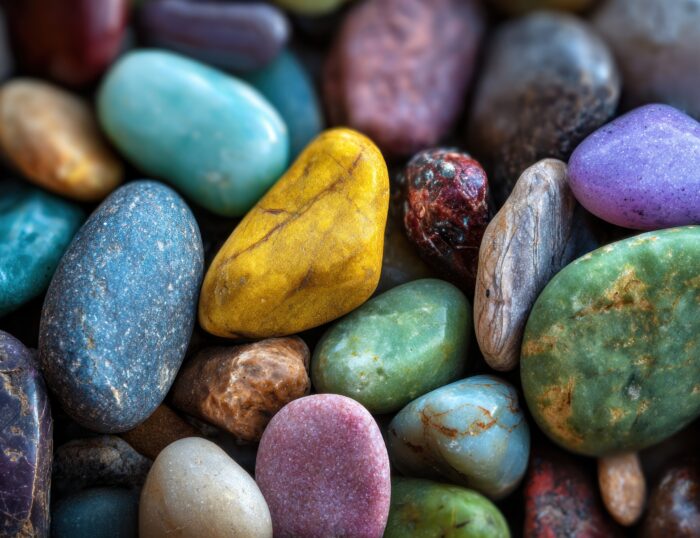
Mexican beach pebbles are naturally shaped stones collected from coastal areas. Because they’re not machine-made, each piece has a slightly different shape and texture. This creates a natural-looking surface that also performs well in wet environments.
The main benefits include:
- Natural slip resistance due to textured surface
- Strong durability in constant water exposure
- Long lifespan with proper installation
- Works well in modern and traditional bathrooms
- Available in black, gray, white, and mixed tones
- Suitable for walk-in and curbless showers
Another important advantage is drainage. The small gaps between stones allow water to flow toward the drain when the shower floor is properly sloped. This reduces standing water and helps with maintaining hygiene.
Mexican Beach Pebbles Bathroom Ideas: Simple Design Approaches
Pebble shower floors aren’t only functional but also influence the overall bathroom style. Here are some practical design ideas used in real projects.
Black pebbles with light walls create a strong contrast that works well in modern bathrooms. This style is often paired with glass shower doors and matte or brass fixtures for a clean, structured look.
Gray and natural pebble blends are commonly used in calm bathroom designs. They work well with wood vanities, soft lighting, and neutral wall colors, creating a balanced and simple environment.
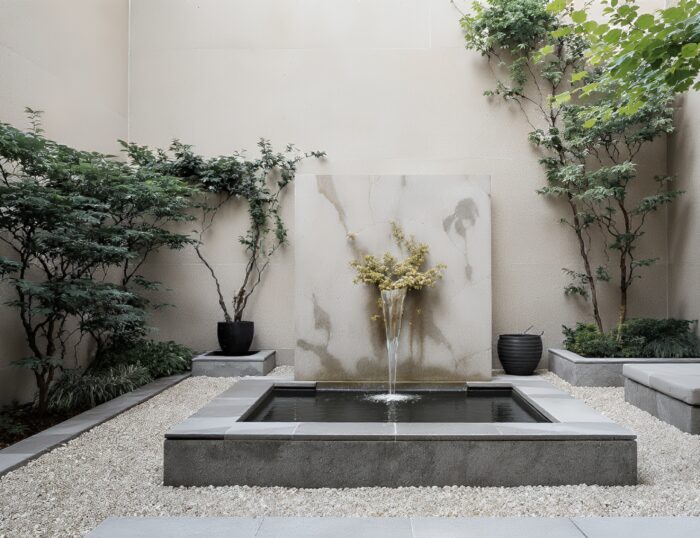
Walk-in showers often use pebbles because they visually connect the shower area with the rest of the bathroom floor. This makes the space feel more open and continuous.
Pebble floors also work well with wood benches and stone walls. This combination is often used in spa-style bathrooms where the goal is a natural and relaxed atmosphere.
Pebble Tile vs. Mexican Beach Pebbles for Shower Floors
There are two common options for pebble flooring in bathrooms: pre-mounted pebble tiles and loose Mexican beach pebbles.
Pebble tile sheets come attached to a mesh backing. They’re easier and faster to install, which makes them suitable for basic remodels or DIY projects. They also provide a more uniform look and reduce installation time.
However, they can sometimes show repeating patterns and may not look fully natural.
Loose Mexican beach pebbles offer more control over placement and design. They allow for a more natural finish and better customization, especially in high-end bathroom projects. The downside is that installation takes more time and requires more skill.
In many professional remodels, loose or adjusted pebble layouts are preferred because they create a more natural and customized appearance.
Step-by-Step Shower Floor Remodeling Process
Before installation begins, the existing shower base must be inspected carefully. Any signs of water damage, cracks, or movement should be repaired first.
Step 1: Remove Old Flooring
Start by removing existing tile, mortar, and adhesive layers. Once the surface is exposed, check for damage such as moisture issues, mold, or weak areas. A stable base is necessary for a long-lasting installation.
Step 2: Waterproofing and Slope Preparation
Waterproofing is one of the most important parts of the process. A proper system includes a waterproof membrane, a cement backer board or mortar base, and a correctly installed drain.
The shower floor should be sloped toward the drain at approximately one-quarter inch per foot. This ensures water doesn’t collect in low areas.
Step 3: Dry Layout Planning
Before applying the adhesive, place the pebble sheets or stones on the floor. This adjusts color balance, prevents repeating patterns, and helps you plan the layout around the drain. This step improves the final visual result.
Step 4: Apply Thinset Mortar
Use a high-quality thinset designed for wet areas. Apply it evenly with a notched trowel and work in small sections. Press the pebbles firmly into place so they bond properly with the surface. Poor adhesion can lead to loose stones later.
Step 5: Cutting and Drain Fitting
Use a utility knife for mesh sheets and a wet saw for stone adjustments when needed. Around the drain, maintain a smooth slope and avoid uneven edges so water can flow properly.
Step 6: Grouting the Surface
Grouting takes more time with pebble floors because of the irregular gaps between stones. All joints should be filled properly to avoid spaces where dirt or moisture can collect. Excess grout should be cleaned carefully to maintain a smooth finish.
Step 7: Sealing the Surface
Sealing protects both the stone and grout from moisture and staining. A penetrating sealer should be applied after installation and repeated every one to two years, depending on usage. This helps you maintain color consistency and makes cleaning easier.
Installing Mexican Beach Pebbles in Bathroom Floors
When used outside the shower area, pebble flooring requires a few adjustments.
Flatter stones are usually preferred for comfort underfoot. Matte sealers are better than glossy finishes because they maintain grip. In wet zones, proper drainage and a slight slope should still be maintained. Working in smaller sections helps you maintain accuracy during installation.
Pebble flooring is generally best used in shower areas or accent zones rather than full dry floor spaces.
Black Mexican Beach Pebbles for Master Bathrooms
Black Mexican beach pebbles are widely used in modern bathroom remodeling because they create a bold but clean appearance. They also hide water stains better than lighter stones.
They work well with white marble walls, glass shower enclosures, floating wood vanities, and warm lighting. In larger bathrooms, black pebbles add texture without making the space feel crowded.
At RS&P Rock Stone & Pebble, black pebble selections are often used for shower floor projects where a more refined and consistent finish is required.
Common Installation Mistakes to Avoid
Many problems in pebble shower floors come from installation errors rather than the material itself.
Common mistakes include skipping waterproofing layers, incorrect slope toward the drain, uneven stone placement, using the wrong grout type, and not sealing the surface properly. Rushing the dry layout stage is another common issue that affects the final appearance.
Proper preparation is more important than speed during installation.
Maintenance Tips for Long-Term Use
Pebble shower floors are easy to maintain with regular care.
Rinse the surface after use to reduce soap buildup. Clean weekly with a soft brush and mild cleaner. Avoid harsh or acidic chemicals that can damage grout. Reseal the surface periodically and check the grout condition once a year to maintain performance.
Consistent maintenance keeps the surface clean and extends its lifespan.
Bringing Everything Together
Mexican beach pebbles offer a practical and natural solution for shower floor remodeling. They provide good grip, long-term durability, and a design style that works well in many bathroom settings.
When installed with proper waterproofing, slope, grouting, and sealing, pebble flooring can perform well for years. The key is careful installation and regular maintenance.
If you’re planning a bathroom upgrade and want natural stone options, RS&P Rock Stone & Pebble can help you choose the right Mexican beach pebbles for your project and guide you toward the right installation approach.