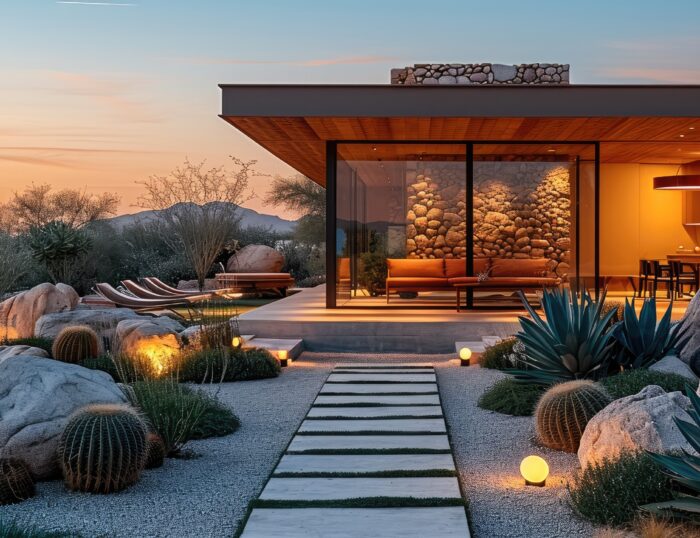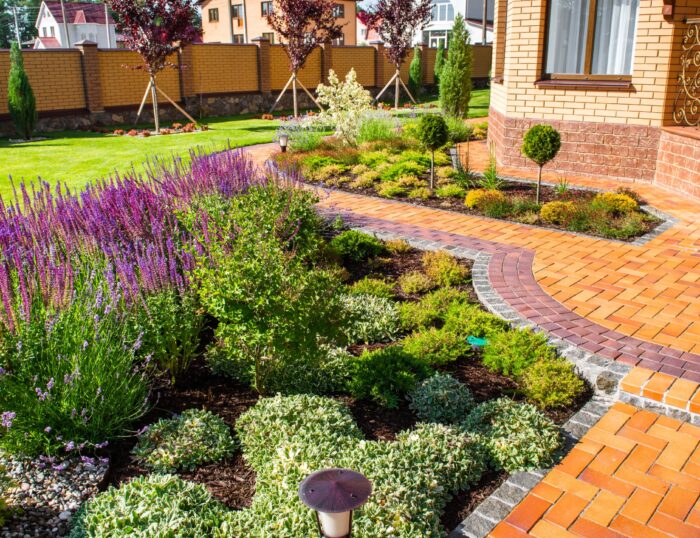
Outline the Pathway
Increased efficiency, direction, risk reduction, and making informed decisions are easier to achieve when the outline has been planned correctly. The outline acts as a road map, providing you with more organization as you take on this landscaping project. Otherwise, the rock pathway could be improperly installed, resulting in significant material waste, leading to stress and a reduced chance of success.
During the outlining stage, make sure to identify the necessary resources for the project, such as time, money allotment, and the family members, friends, or professionals who will assist with the task. Think proactively about potential mistakes and develop a feasible plan to take on those mishaps. Always track your progress so you can reach your stone pathway goal successfully and on time.
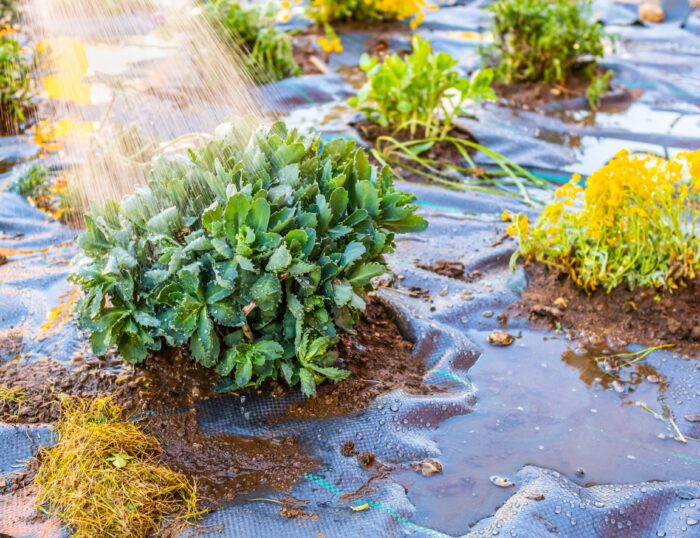
Prepare the Base
The objective of this step is to obtain a strong foundation. By doing so, you can prevent weeds and increase your odds of proper drainage. Without good base preparation, your rock pathway could sink or shift over time.
It’s best to remove sod first during this step, and always go deep enough to accommodate the rock material used. Lay down landscape fabric over the soil next, as this will prevent weed growth along your pathway. Then add a leveling layer, which can consist of different aggregates, such as sand or crushed gravel. Lastly, level the surface with a board sized perfectly to your pathway and water the board lightly to ensure compaction.
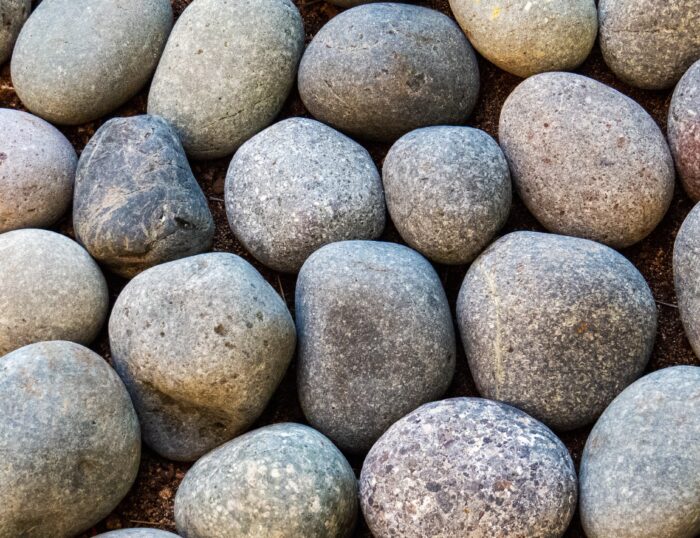
Select the Best Rocks
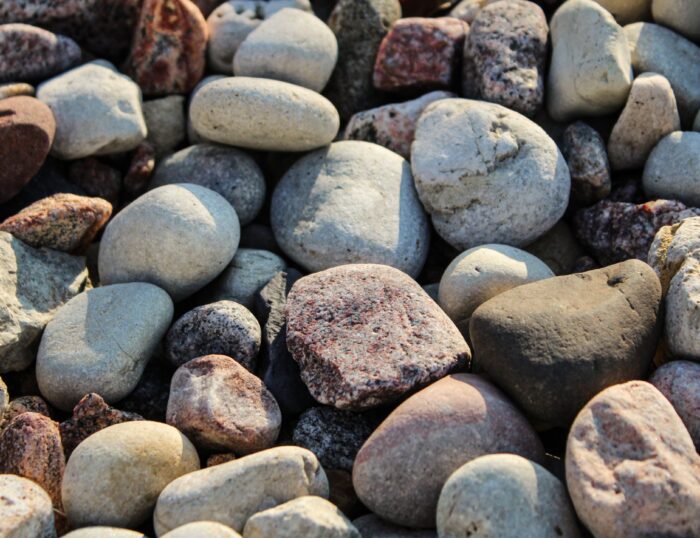
The durability and visual appeal of your pathway are contingent on the type of stones you select. An improper choice could lead to many challenges, such as difficulty walking on the rocks, constant maintenance needs, and continuous clashing with other landscaping features.
The type of pathway you seek will determine the types of stones to use. For example, rounded options are best for heavy foot traffic, and angular stones are an excellent option for low-traffic pathways. Flat stones are good if you’ll have people accessing the feature with wheelchairs or strollers. In warm areas like San Antonio, Mexican beach pebbles are ideal for bare feet.
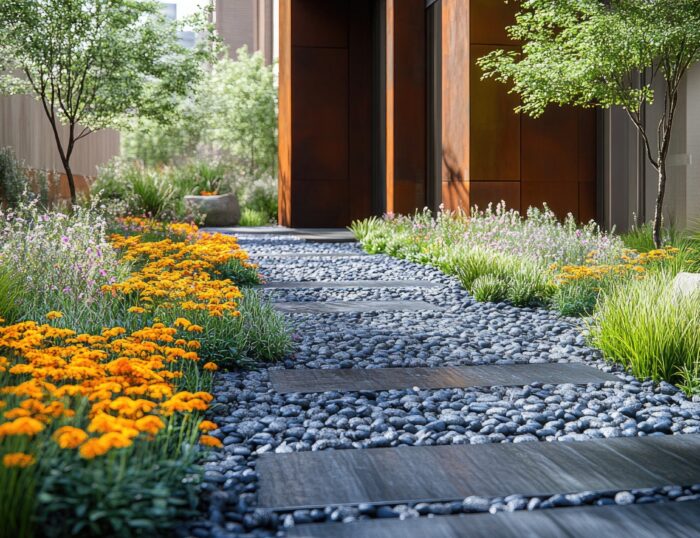
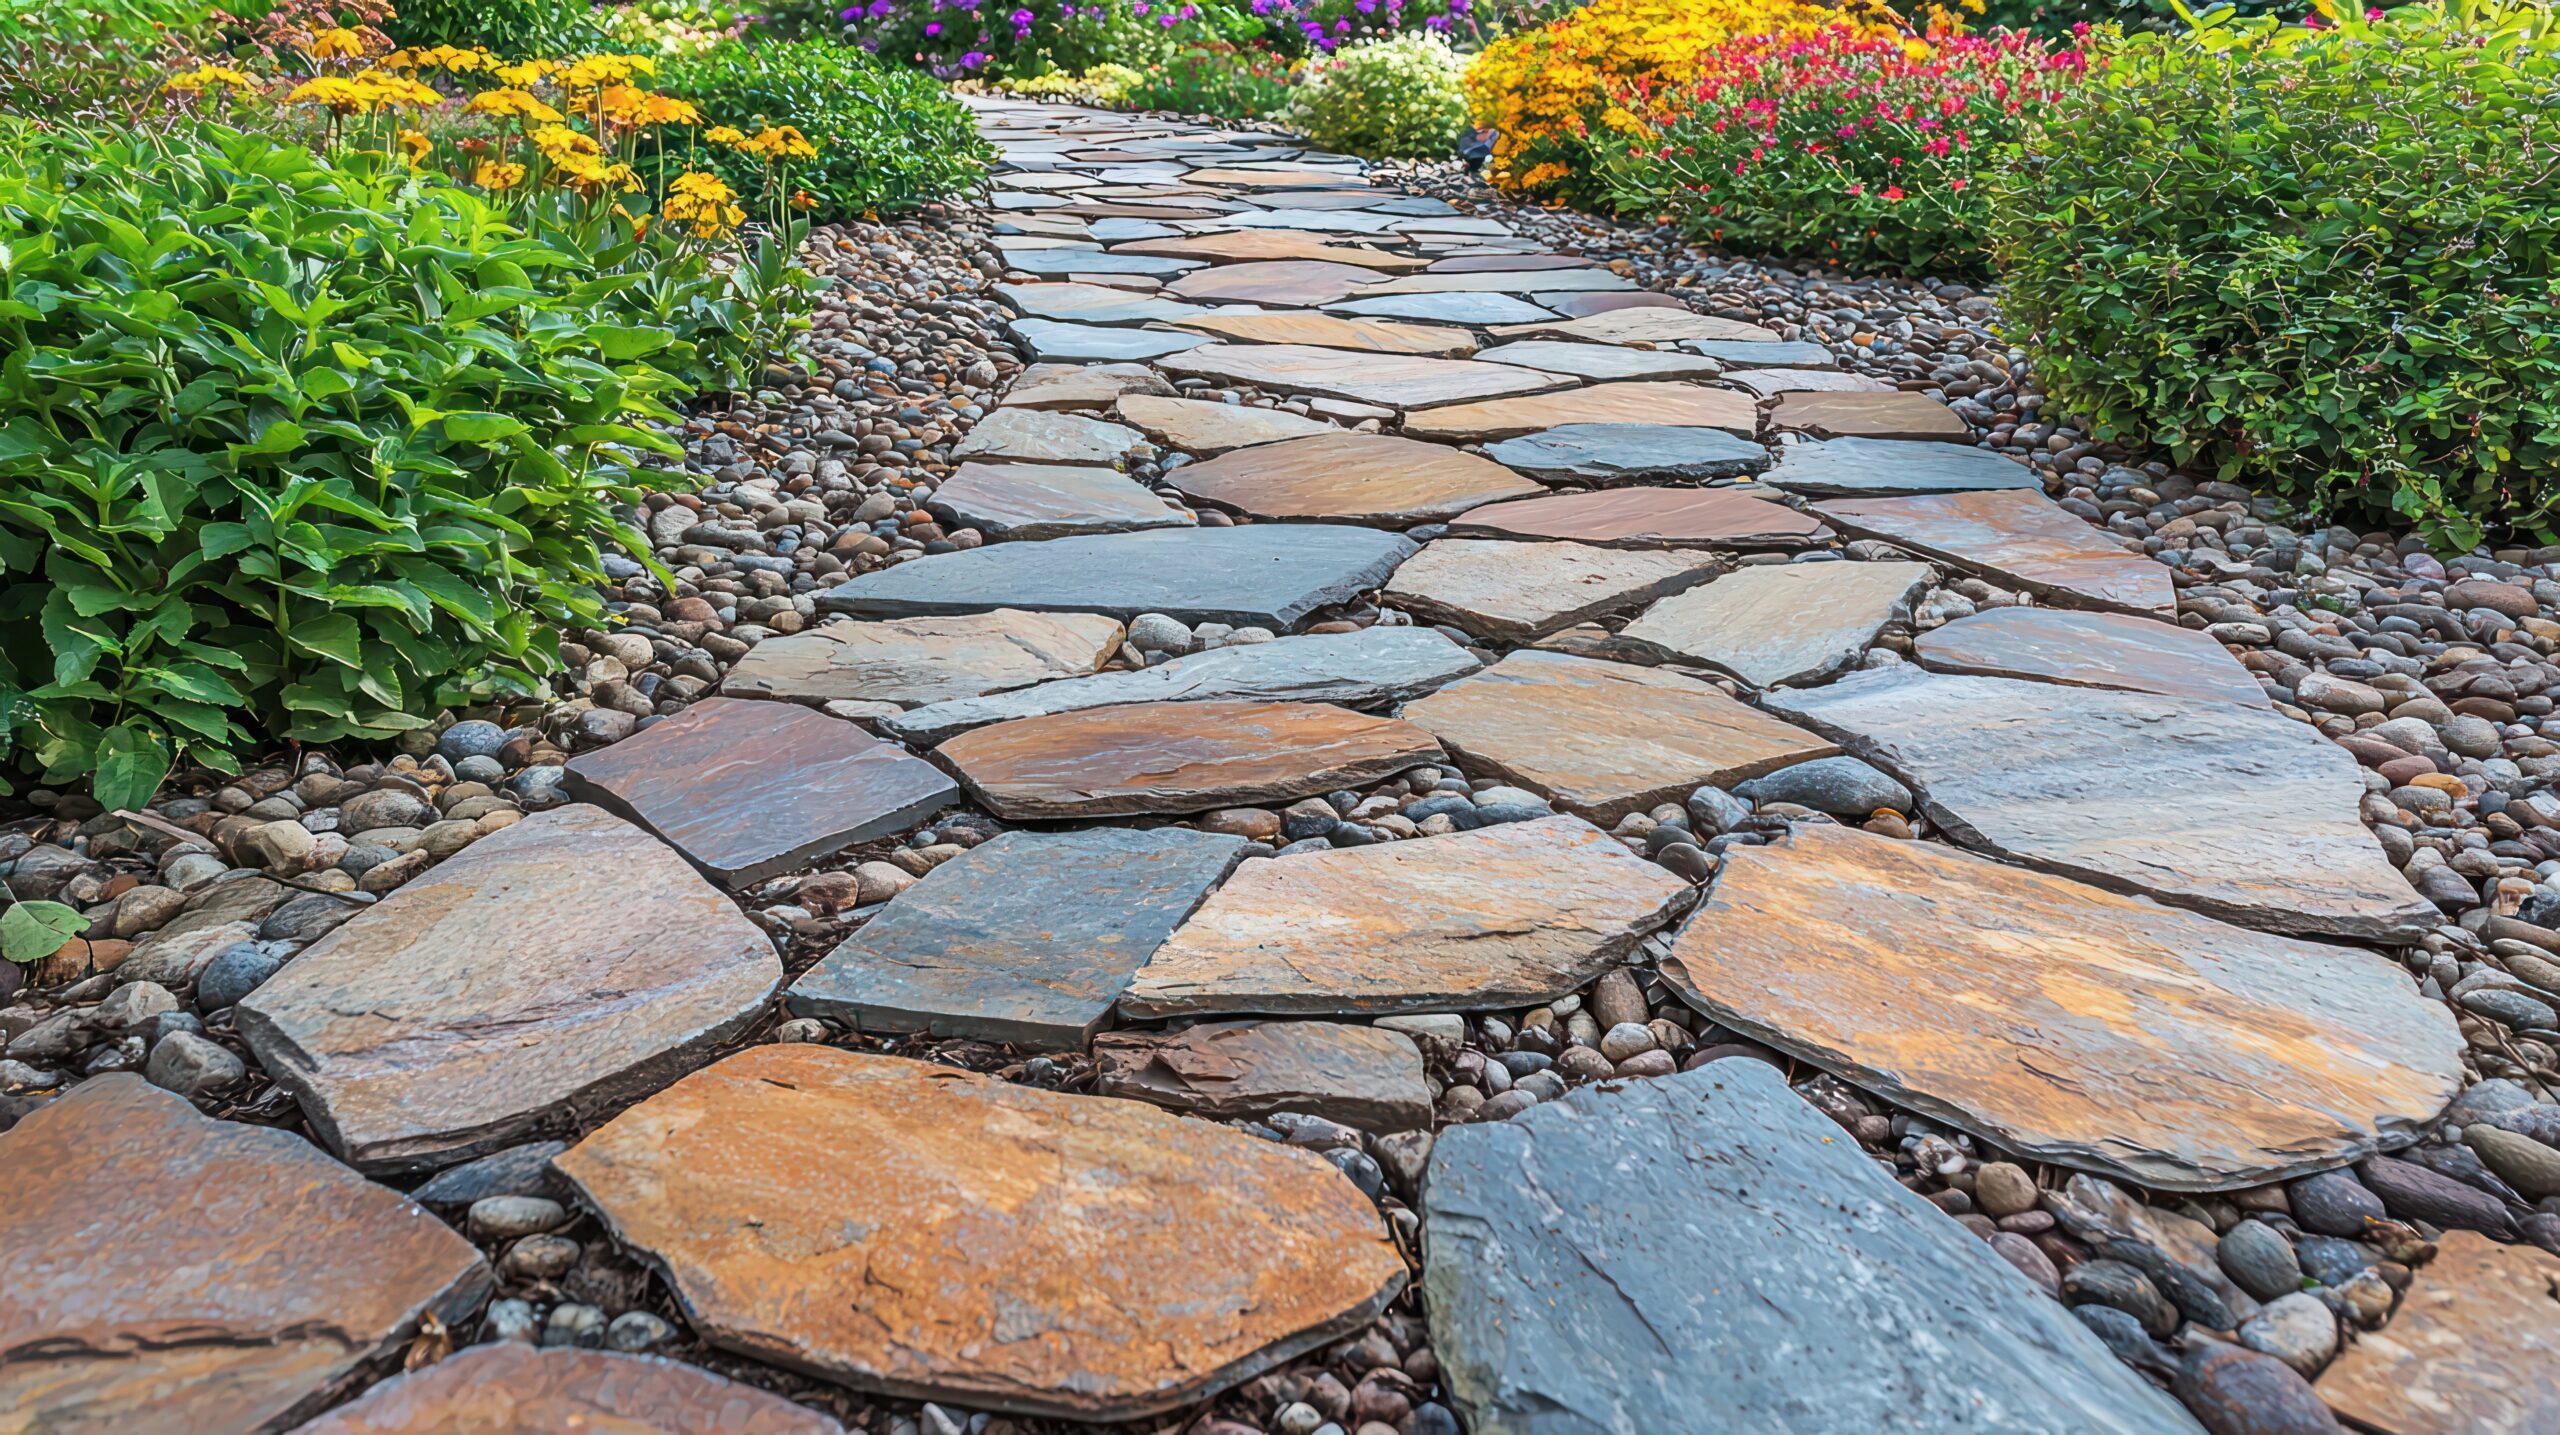
Fill in the Gaps
After you install the stones properly, fill in the gaps by placing plants between the rocks. Select plants that provide a natural look. For example, in San Diego, Mexican beach pebble will complement native drought-resistant plants like succulents. Fill material is another option, as these alternatives can fill in the gap and secure the stones without future wobbling.
Water the pathway lightly to help the fill-in material settle correctly. Once the watering steps have been completed, check over the rocks again and make any necessary adjustments or complete changes to ensure your pathway maintains its level and stability.
If you need advice on designing a rock pathway of your own, call on the experts at RS&P Rock Stone & Pebble, your premier choice when you’re looking for a supplier of landscape rock, river rock, and stones to create the perfect look in your yard. We specialize in drought-tolerant landscaping materials, including a variety of colored beach pebbles and river rock. To learn how we can help you enhance the exterior of your home, call us today.