Plan and Measure Your Path
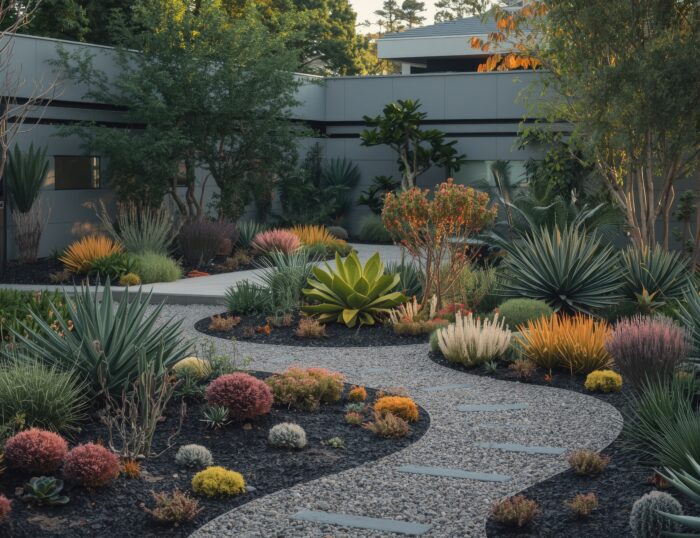
The first step in any river rock pathway design is careful planning. Decide on the route of your path, whether it’s a formal straight line, a curved garden trail, or a natural stone path winding through plants. Mark the path with landscape chalk or stakes to visualize your project. Measuring the length and width is essential to calculate how much river rock you will need. Use the formula: Volume = Length x Width x Depth to estimate the amount of stone required.
| Path Type | Recommended Depth | Recommended Rock Size |
|---|---|---|
| Garden Path | 4–5 inches | 1–3 inches |
| Walkway Around Pool | 3–4 inches | 2–4 inches |
| Decorative Stepping Stones | 2–3 inches | Mix of small and medium stones |
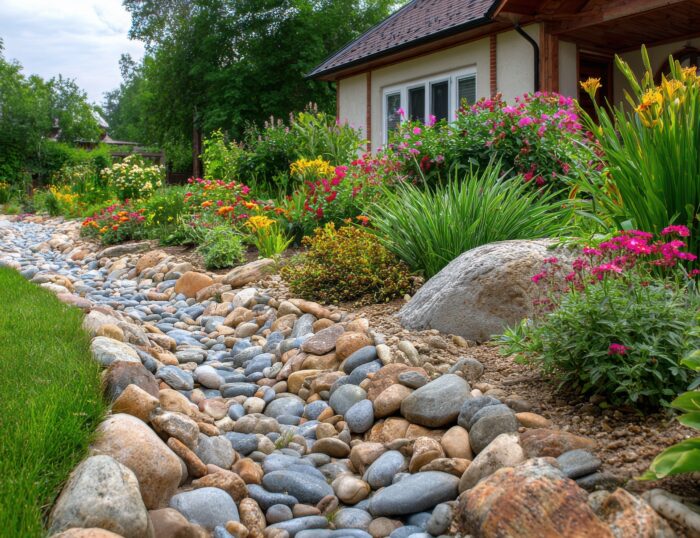
Selecting the right rocks for pathways is important. Smaller stones work well for filler and ground cover, while larger stones create structure around stepping stones in river rock or along river stone pathways.
Clear the Area and Prepare the Base
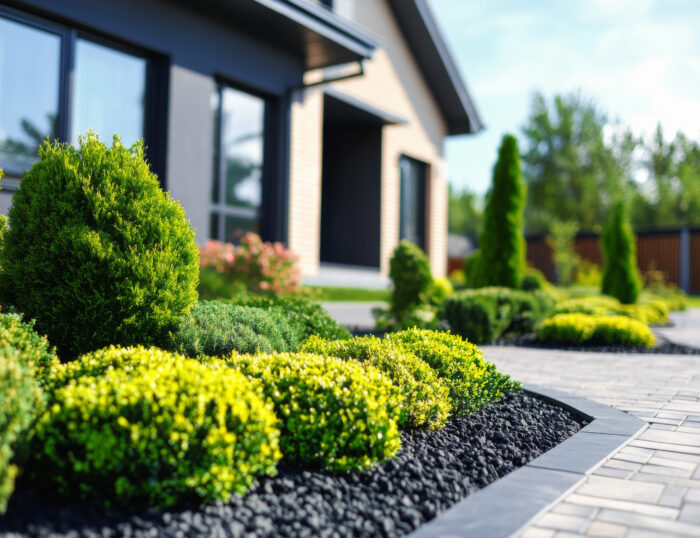
Once your path is marked, remove grass, weeds, or old pavers. Dig to the recommended depth, ensuring the area is level and the edges are flush. Installing river rock edging along the sides helps keep the stones in place and prevents erosion. This is crucial for maintaining a tidy river rock path over time. Adding a layer of sand or crushed gravel improves drainage, which is especially important for river rock pathways around pools or areas prone to standing water. A layer of landscaping fabric or weed mat further prevents vegetation from growing through your rock pathways landscaping.
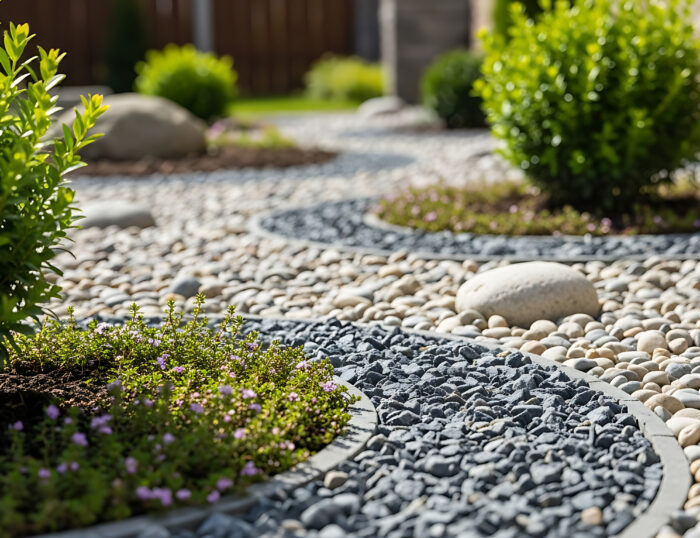
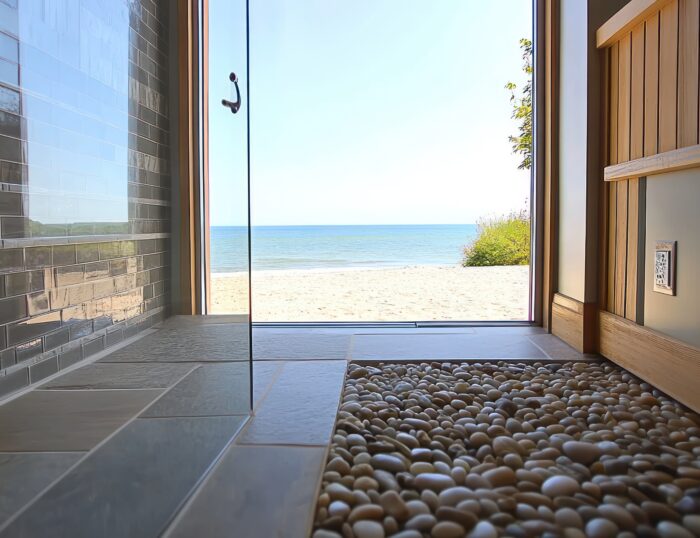
For a creative touch, many homeowners mix in Mexican Beach Pebbles along the pathway to create visual contrast and highlight the natural colors of river rocks.
Place Stepping Stones and Spread River Rocks
If you plan to create a river rock path with stepping stones, now is the time to place them. Larger stepping stones provide stability for frequent use, while smaller stones can fill gaps and create contrast. Spread river rocks evenly around the stepping stones, keeping them about half an inch below the edging to prevent overflow. This technique works well for river rock walkways, DIY river rock patios, and paver and river rock walkways.
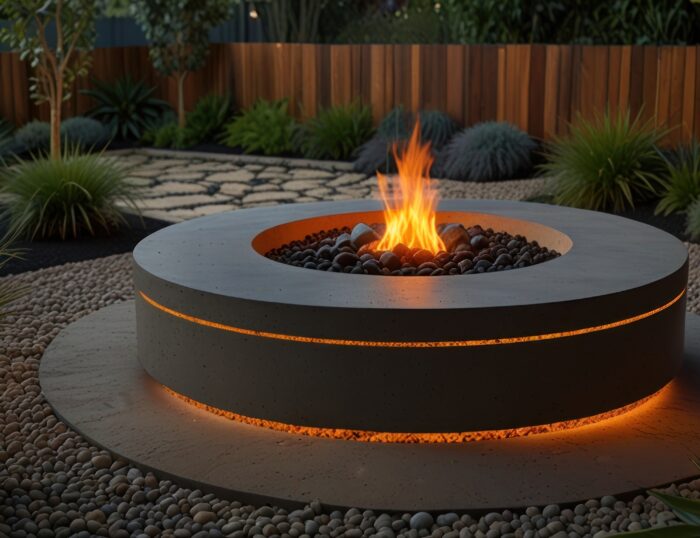
Adding Polished Black River Rock in sections of your path can give a modern and sophisticated look, especially when paired with lighter stones. It also creates a striking visual effect for both small and large landscape designs.
Maintenance Tips for Long-Lasting Beauty
A river rock walkway or rock pathway requires minimal maintenance but benefits from periodic care. Clear leaves and debris regularly to maintain the look, pull out any weeds that emerge, and add rocks where shifting occurs. For stepping stone areas, check alignment to avoid tripping hazards.
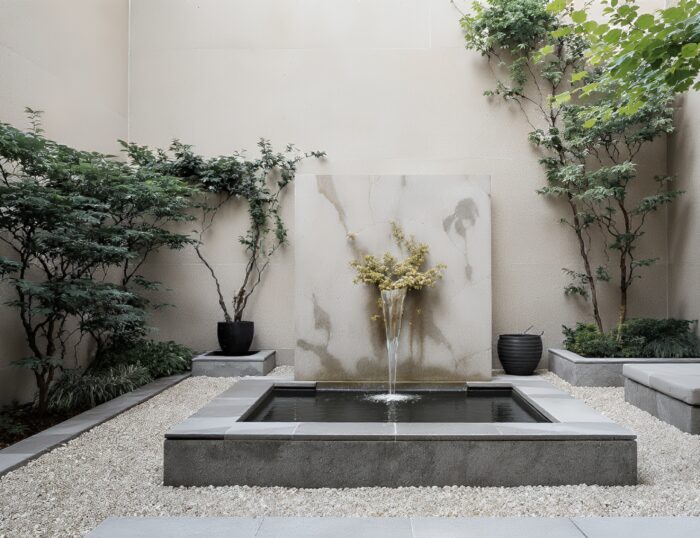
Using Snow-White Pebbles in borders or as accent stones adds brightness and contrast to your river rock garden path or river rock flower bed ideas, enhancing both aesthetics and safety in walkways. Properly installed river rock pathways can last for decades with minimal upkeep.
Design Ideas for Inspiration
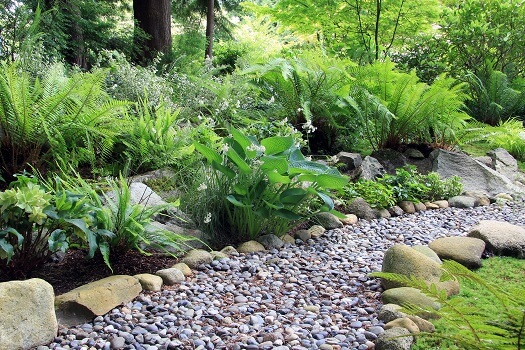
River rock pathway ideas are nearly endless. You can design paths for formal gardens, casual backyard trails, or creative DIY projects. Some ideas include:
- A river rock path with stepping stones leading to a garden bench or pond.
- A landscape rock path that curves around flower beds or trees.
- A stone pathway installation with mixed river rock sizes for visual texture.
- River rock sidewalks paired with concrete or pavers for a modern contrast.
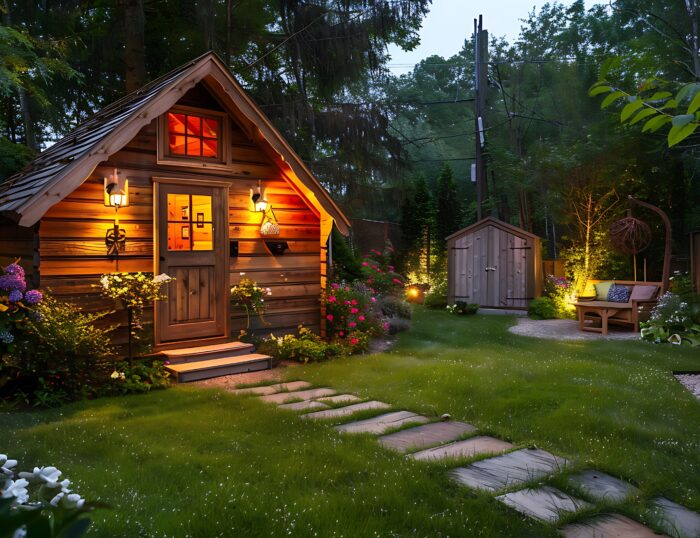
- Combining river rock pathways with lighting or edging to highlight the route at night.
These ideas apply to both residential and commercial landscapes, allowing you to create a rock pathway design that complements your outdoor space.
Why Choose River Rocks for Your Pathway
Using river rocks for pathways offers multiple benefits. They provide a natural aesthetic, resist erosion, and require less maintenance than mulch or loose gravel. River stone pathways also improve drainage, making them ideal for areas with heavy rainfall or sloped terrain. When properly installed, river rock paving reduces soil compaction and prevents weeds, creating a sustainable and eco-friendly solution. Additionally, combining stepping stones with river rock adds functionality, guiding foot traffic while maintaining visual appeal.
For DIY enthusiasts, how to make a river rock pathway or how to make a rock pathway is straightforward with minimal tools, making it a rewarding project for homeowners seeking river rock path ideas or diy river rock walkways.
Bringing Your River Rock Pathway Vision to Life
Creating a river rock path, rock pathway, or river stone walkway transforms ordinary outdoor spaces into functional, beautiful environments. Whether you’re installing a stepping stone walkway with river rock, a river rock garden path, or a river rock path with pavers, careful planning, proper installation, and thoughtful maintenance ensure your pathway lasts for years. With creative ideas and DIY techniques, your landscape can feature pathways that are both practical and visually stunning.
For professional advice or sourcing materials, RS&P Rock Stones & Pebbles can provide guidance on river rock pathways, rock for pathways, and complete landscaping solutions.